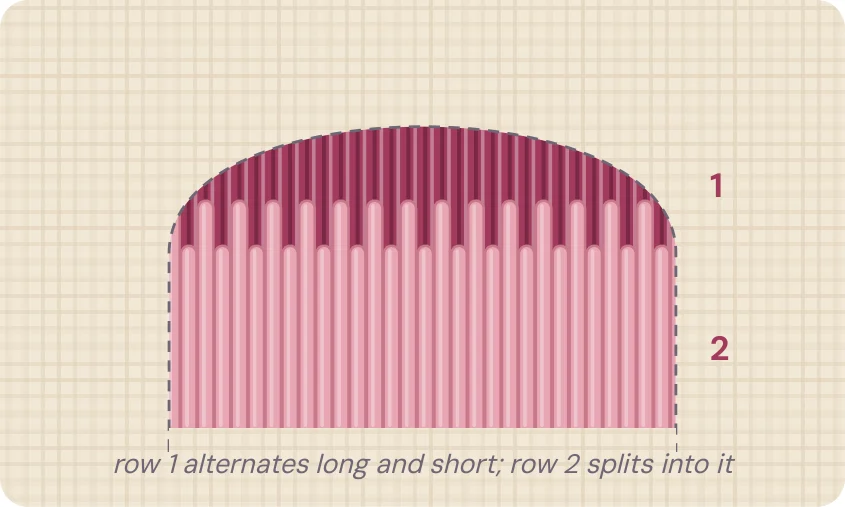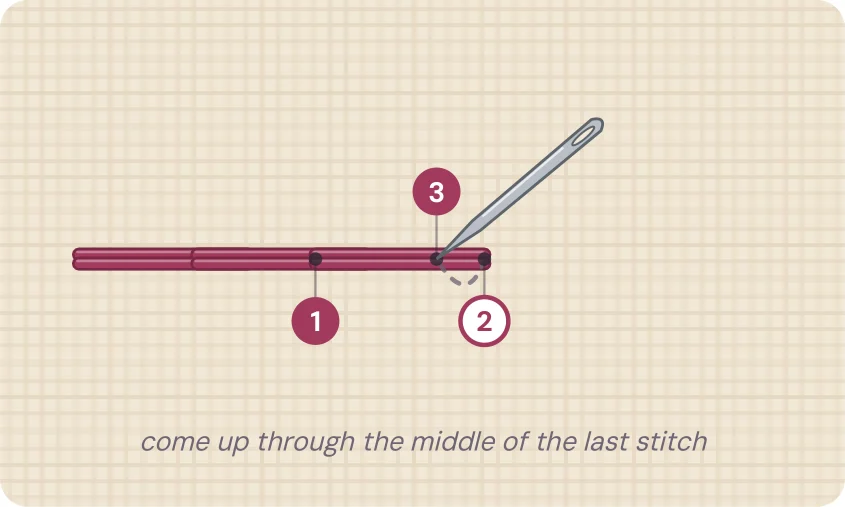
Filling stitches
How to do satin stitch
Satin stitch fills a shape with smooth, parallel stitches. It is the stitch that makes embroidery look polished, and it is used for the leaves in the Spring Wreath.
Use it forSmooth, solid fills in small shapes
Strands2
LevelBeginner
Step by step
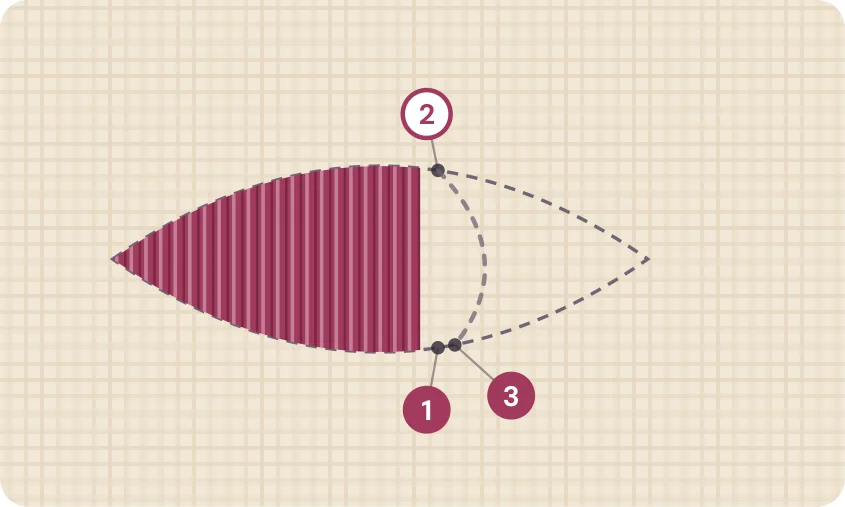
- Come up at 1 on one edge of the shape.
- Go down at 2 directly across on the opposite edge.
- Come up at 3 right next to 1 and repeat, side by side.
Tip: Start in the middle of a shape and work out to each end to keep the angle even.
Getting it right
Keep shapes small while you learn: leaves, petals, hearts and small letters. Stitches longer than about 1/2 inch tend to sag and snag, so larger areas are better filled with long and short stitch.
Start in the middle of the shape and work out to one edge, then go back to the middle and work out to the other. Your angle stays even that way.
For a raised, crisp edge, outline the shape in split stitch first and work the satin stitches just over that outline.
Common mistakes
- Gaps between stitches. Lay each stitch right beside the last.
- Pulling tight, which puckers the fabric. Satin stitch should rest, not squeeze.
Use satin stitch in these project ideas: personalized gifts, baby & family, wedding, church & business.