Line stitches
How to do running stitch
Running stitch is the first stitch almost everyone learns, and it never stops being useful. It is the in-and-out stitch you already know from mending, worked a little more carefully.
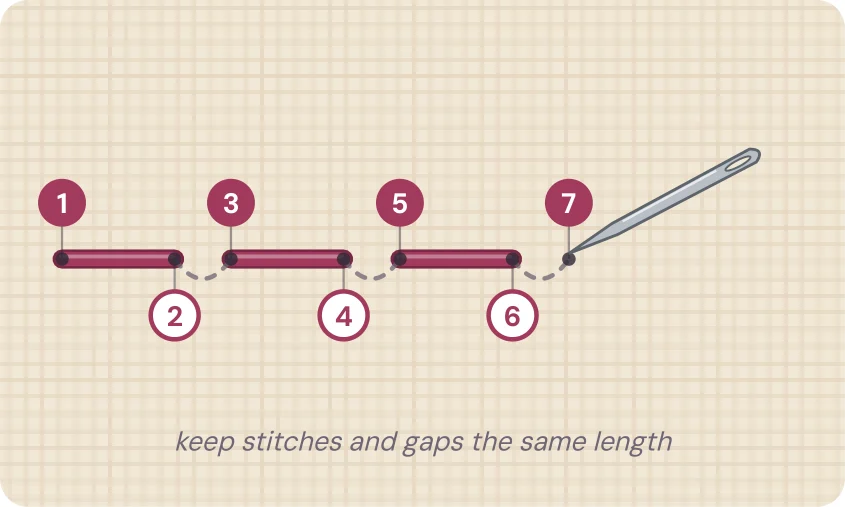
Step by step
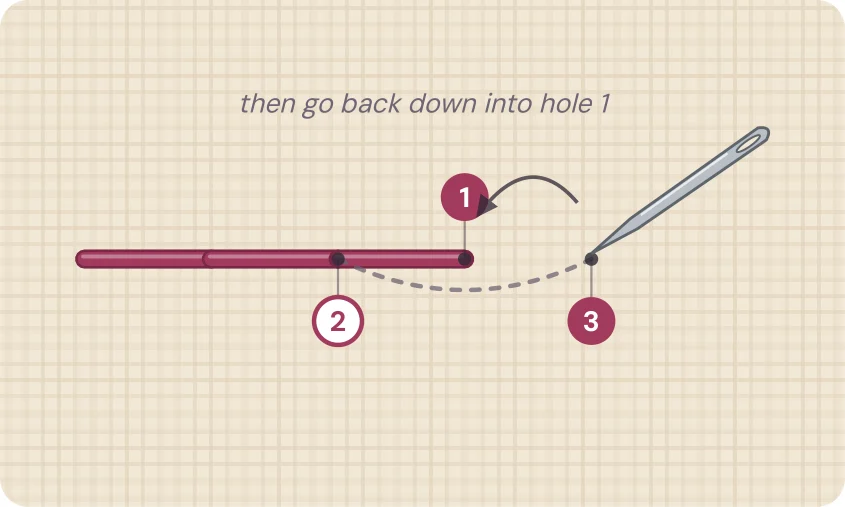
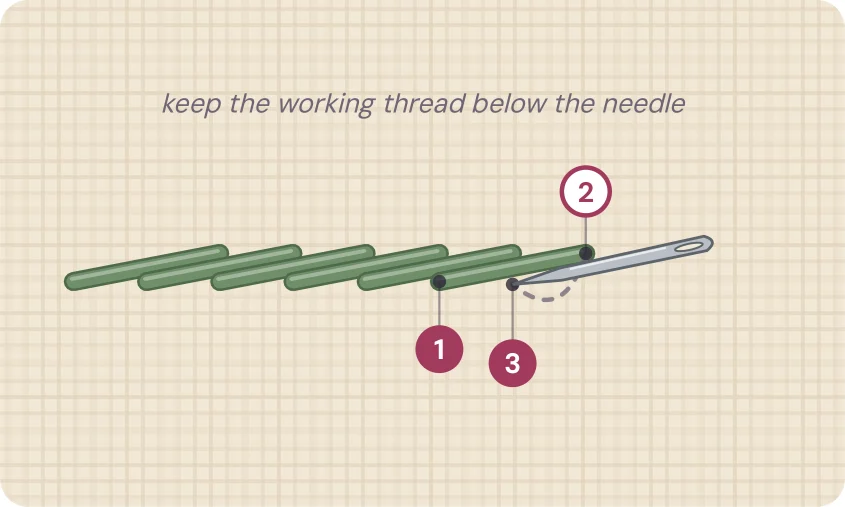
- Come up at 1 and go down at 2.
- Leave a small gap and come up at 3.
- Keep going, making stitches and gaps even.
Getting it right
Because it leaves small gaps, running stitch reads as a soft, dashed line. That makes it perfect for borders on tea towels, quilting-style details on baby blankets, and the “stitched” look around a monogram.
Keep the stitch on the front slightly longer than the gap underneath it. The eye reads that as neat and even, even when your spacing is not perfect yet.
Once you are comfortable, try whipping it: pass a second color under each stitch without piercing the fabric. You get a twisted, rope-like line with almost no extra effort.
Common mistakes
- Stitches and gaps drifting in length. Mark small guide dots along the line first.
- Pulling too hard, which gathers the fabric. Let each stitch lie flat.
Use running stitch in these project ideas: baby & family, church & business.