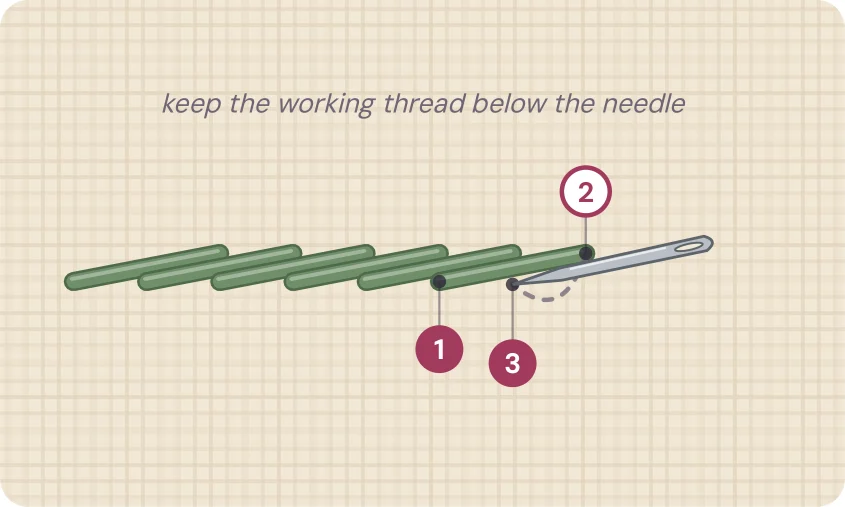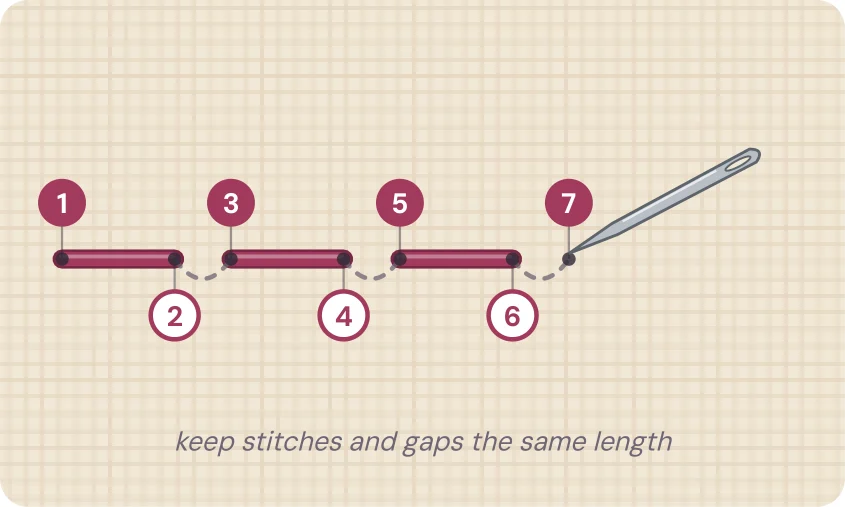
Line stitches
How to do backstitch
If you learn only one outline stitch, make it backstitch. It draws a clean, solid line and it is the workhorse behind most hand-stitched names, dates and outlines.
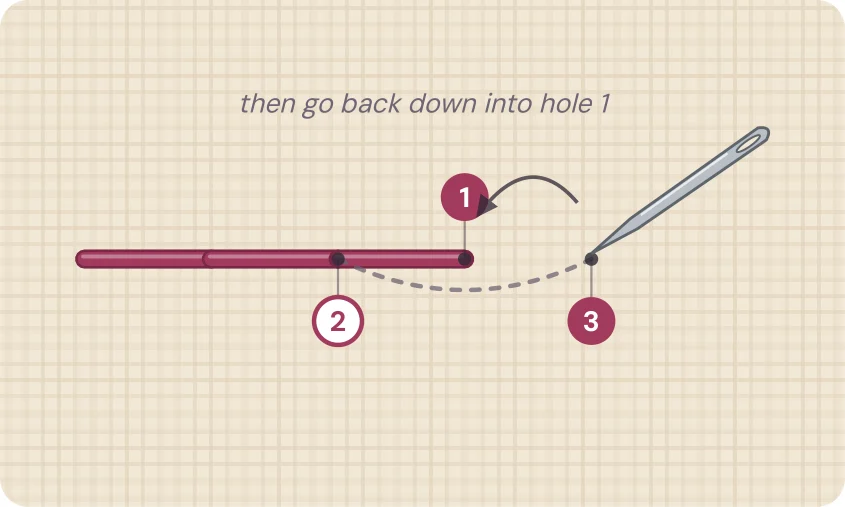
Step by step
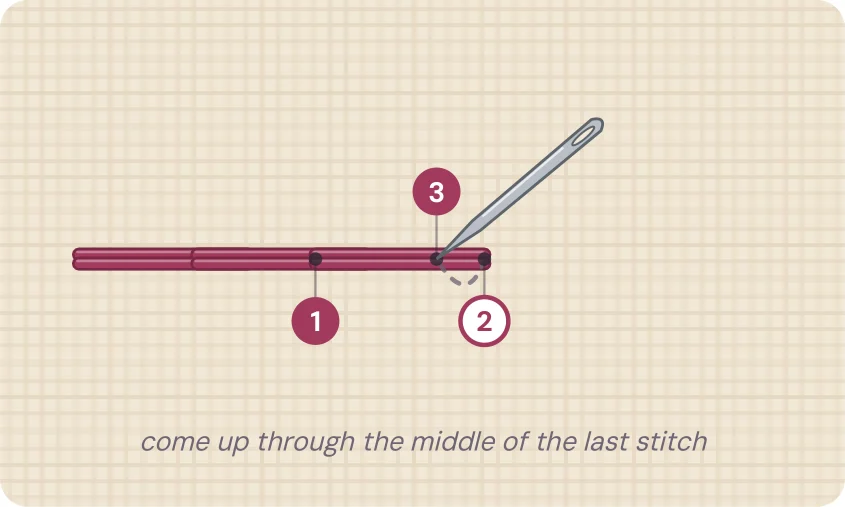
- Come up at 1, one stitch length ahead.
- Go down at 2, the end of the last stitch.
- Come up at 3 and go back down into 1.
Getting it right
Each stitch reaches back to share a hole with the one before it, so the line has no gaps. That is what makes backstitch ideal for lettering on gifts, birth dates on baby blankets and initials on handkerchiefs.
Size matters more than speed. On straight lines you can use stitches around 1/8 to 3/16 inch long. On tight curves and small letters, shorten them so the line bends smoothly instead of looking like a stop sign.
Two strands give a delicate, pen-like line. Three strands look bolder and fill in small irregularities, which is helpful while you are learning.
Common mistakes
- Missing the shared hole, which leaves tiny gaps. Go down exactly where the last stitch ended.
- Long stitches on curves. Shorten them as the line turns.
Use backstitch in these project ideas: personalized gifts, baby & family, wedding, church & business.